
Well... something wasn't quite right. I didn't heart the art. I just didn't. It wasn't functional. It was a little on the blah side and looked like it belonged in a scrapbook {probably because it was just some scrapbook paper with a flower embellishment}. So, I let the wheels spin a bit and looked around online for some inspiration.
That's when I came across this....

Found while browsing through The Lettered Cottage "Screened In" Magazine.
I totally hearted the window box, from the second I saw it! Now... how to make it work in my bathroom. And at little to no cost.
Here we go.
We dug around the garage for some scrap wood. And boy are we glad we keep leftover wood from previous projects, because now I get to do a free weekend project without heading to the home improvement store!
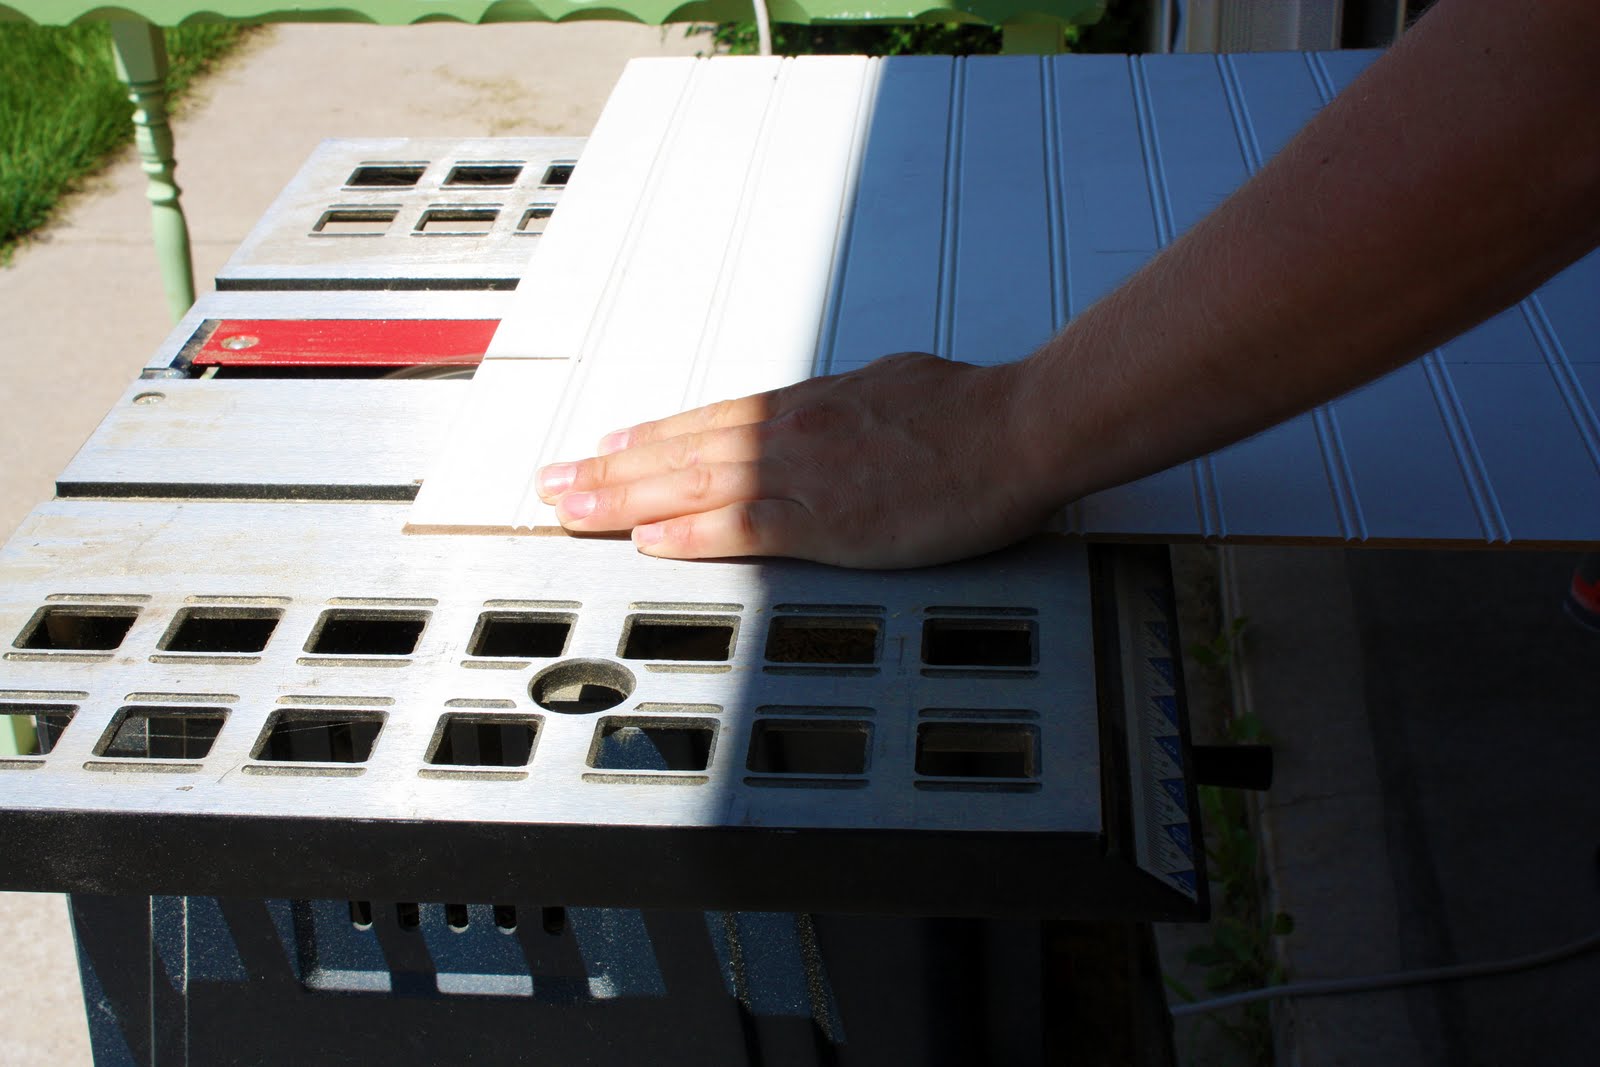
We snagged a simple pine board, and cut it to length. We agreed that slightly shorter the the toilet top would be good, since it would be placed above.

Using a thinner piece of pine trim, after doing some pre-drilling and wood gluing....

The backing was nailed in. This is how the window box would eventually be attached to the wall.

We found some leftover kitchen wainscoting panels that we decided would be good window box walls. So we measured....

and cut....
And then following the same steps of predrilling and wood gluing and then screwing in the wainscoting walls.

To cover up the screwed and give it some added strength, we used some additional pine molding around the outer edge, that we just attached using wood glue adhesive.

And clamped until dry.

Giving us a window box that was cute as pie! {Whatever that really means?}

But before we started painting, I wanted to give it a little personality. So I started playing with some .99 cent chipboard letters from the Target scrapbook isle.

After coming up with my favorite bathroom related words {yes, my kiddos giggle when they take their tubbies so it is a bathroom word in my heart}, I placed them on the window box.

Now stay with me. It gets better I promise. At this point, the hubs was ready to leave me, not divorce necessarily, just walk away. All his hard work and I am putting colorful .99 cent letters all over it?! Hear me out...
I affixed the letters to the box with some hot glue. And then I gave the whole thing a coat of spray primer.


SO MUCH BETTER? I thought so... After the primer was dry, I used a sharp knife to make sure any dried hot glue or clumpy primer was scraped out of the letters, and then gave it a coat of cabinet colored paint.


And after it was dry, the hubs installed it on the wall!!!

I tossed some rolled up hand towels and kiddo lotion inside the new window box, and using some eye screws, hung some mason jars by twine below.

Which I used for toothbrush storage.

Other than realizing it is time to add kid toothbrushes to the shopping list... I again, didn't heart it....
Too countryish for my personal taste? I think so. And not quite how I envisioned it. Something just wasn't quite right. And I still had that dreaded artwork above. But if at first you don't succeed, try and try again. Which is just what I did.
And then it hit me, like a ton of bricks. And boy, a ton of bricks never felt so good. Remember the item IHeart SO much in my home office and laundry room??

I stole those beauties right from the laundry room and replaced the mason jars with the pretty white containers, which I filled with rolled wash clothes and some greenery!

Boatloads better!

And then I addressed the art situation...
I started by removing the flower from the glass.
And removing the matted paper and glass all together. Then I added some wood adhesive....

And layered an extra Ikea square mirror I had from eons ago!

And then hung it back up above the window box.
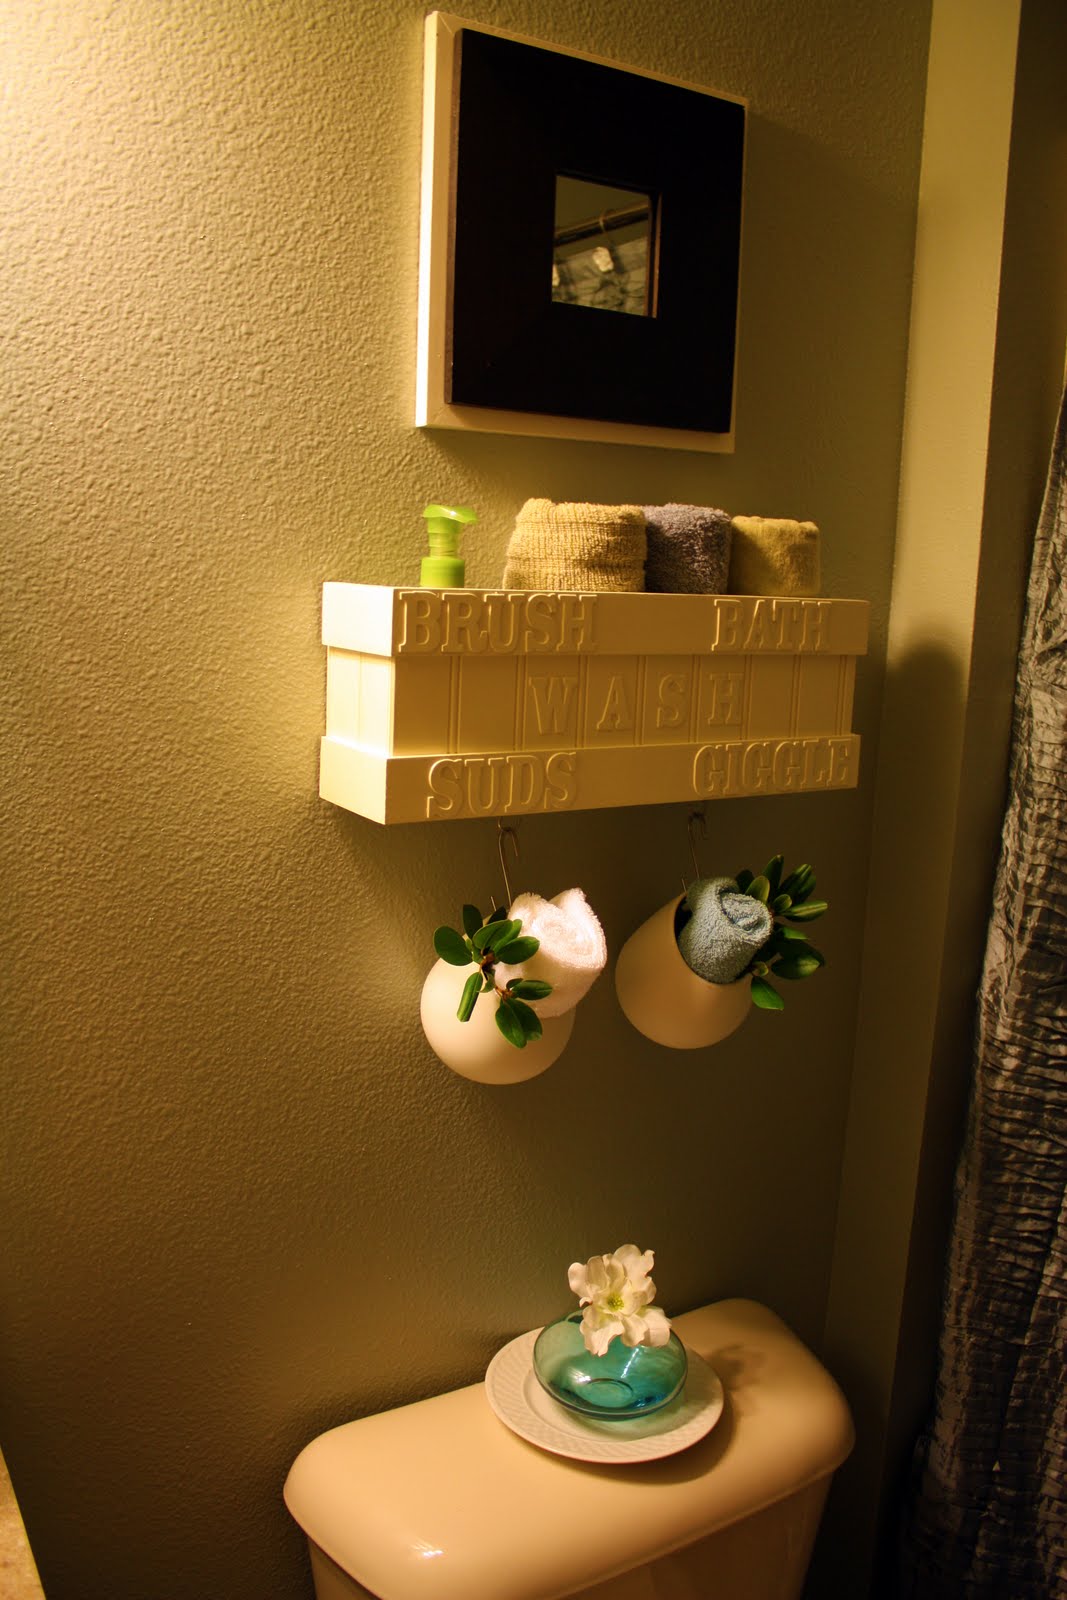
Giving a final product of:


Ready for that glorious side by side comparison?
And of course it's much better than the starting off point....


I finally HEART it! YAY!
So what do you think? It was a little touch and go there for awhile. From the crazy chipboard letters to the mason jars. But this project just goes to show, follow your gut, have faith in your visions, use inspiration, mix things up and try different variations until you achieve the look you desire, and feel free to borrow items from other spaces around the house! And my favorite part of it all... this project cost me ZERO dolores. Yep, I had every last item on hand. Kinda makes me wanna scream, WAHOO! And so what if I just did.... ?
Any other success stories of using inspiration to DIY? Wanna share 'em with me {please please please send to iheartorganizing@gmail.com!}. What about not giving up until you achieved your desired look? Those are the best stories!

P.S. A special THANK YOU to my handy hubs! My vision never would have been possible without his great carpentry skills. I would be left with scraps of wood and no finished product without him, and for that, I am SO grateful!


No comments:
Post a Comment