I have always felt like there was a little somethin' somethin' missing around here. And for me, that was good sewing projects and ideas, that can be used for organizing. That is mostly because my sewing machine and I haven't taken our relationship to the next level yet.... but why should y'all have to suffer because I like to take things nice and slow?
That is why I have added a new gal pal to my IHeart Contributing team! Please give a warm welcome to Palak, who is the author of Make it Handmade.
I am excited to have her here today, sharing her first sewing project with us. It is something that looks simple enough that even I could do, and it is something that we personally could benefit within our own home. Here she is now to share more!

Hi, IHeart Organizing Readers! I can't tell you how absolutely thrilled I am to be here and sharing a sewing tutorial with you all. I'm Palak and I sew {and blog about it} over at Make It Handmade. I also run a frugal sewing site called Sewistry.com .
We are big football fans, which means that we watch more tv over the weekends than I care to admit. We are constantly losing our remotes on the counter, in the toy bin, and the worst-- in the couch cushions.
I came up with this remote control pillow to keep those remote controls right on the couch-- but out of sight.

Even if you've never sewn a stitch before, you can make this fun little pillow-- I promise. Pillows are a great beginner project. This tutorial will walk you through step by step, and if you get stuck; you can always email me and I'll do my best to help you out.
I've also created a compilation of free sewing tutorials especially for I Heart Organizing Readers. If you've never used a sewing machine before, this series of tutorials will walk you through the basics of sewing. You'll have this pillow made in no time!

Materials
- 3 Fat Quarters
- 1 14" Pillow Form
- Sewing Machine & Supplies
Step 1: Decide which fabric you'd like to use for the pocket side of the pillow, and which you'd like to use for the pretty side.

Cut each fat quarter into a 15x15 square.
Step 2: Fold the pocket piece in half, wrong sides together and topstitch 1/8 inch away from the fold.

Step 3: Place the pocket piece on the right side of the pillow back. Using your remotes as a guide; mark out where the pocket needs to be divided, and topstitch in place.

Step 4: Place the remaining square {pillow front} right sides together with the pillow back. Sew around 3 sides of the pillow as shown.

Turn the pillow right side out through the little opening. Iron the pillow case out very well and then insert the pillow form into the pillow. The best way to finish the pillow is to hand sew the opening shut. For a super easy invisible stitch, check out my Magic Stitch Tutorial. If you are more adventurous, you can add an invisible zipper instead.
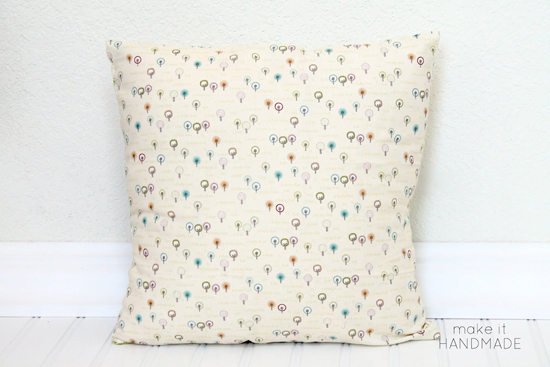
Now you have your very own, one of kind, customized throw pillow with attached remote control caddy.
To use, simply place the remote controls in the pockets to store. {Don't forget to tell your family where they are!}

Turn the pillow pretty side out when your mother in law comes over.
Thank you for having me Jen! I hope some of you give this a try. To check out some of my other DIY tutorials {sewing and otherwise} head on on over to Make It Handmade!


"I'm Palak-- a slightly sleep deprived mom who has loved sewing, knitting and crochet for her whole life. When I’m not chasing after my two rambunctious kids, or sitting behind my sewing machine, I write about my DIY exploits at my blog, Make It Handmade. I also own Sewistry, a site dedicated to stretching our sewing dollars with money saving projects, product review and buying guides. Although organizing doesn’t come naturally to me, I’ve been inspired by Jen and her blog to find the joy in making my home beautiful and functional. I’m transforming my home one room at a time and using my sewing machine every chance I get! I’m simply elated to be able share sewing projects for your home as part of the IHeart team! "


No comments:
Post a Comment