In no particular order, here are the individual tasks I am tackling each day this month:
- Make cleaning supplies
- Cycle clean appliances
- Clean out cars
- Clean out microwave
- Wipe down cabinets/appliances
- Wipe down trim/doors
- Clean out one drawer
- Clean out fridge
- Clean out freezer
- Vacuum under furniture
- Vacuum mattresses
- Clean oven
- Clean out one closet
- Wash out garbage can/recycle bin
- Wash windows
- Scrub grout
- Clean out one cabinet
- File paper piles
- Purge bathroom toiletries
- Clean out pantry
Today I am chatting about the extra task: Wash Out Garbage Can/Recycle Bin
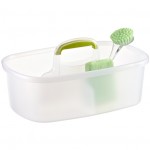
I broke out the gloves for today's task, because upon review of our recycle bin, I was a little scared of what may be growing inside....

Our recycle bin receives a lot of action. Rarrr..... Oh, and please ignore the leftover Italian dinner remnants from last night...
It fills up pretty quickly and is constantly being taken out and emptied into our larger bin outside. That equals food containers being tossed in daily, and it being touched and carried outside daily. That is a lot of grime goin' on. Especially because it lives behind closed doors and doesn't get a lot of cleaning attention.
That all changed today. It was wash out garbage cans and recycling bin day! Can you feel the excitement?
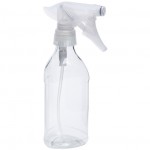
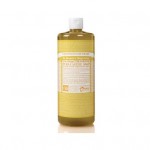
I started by taking my mixture of 1 cup distilled water, 1 tbsp castile soap and 10 drops of lemon essential oil {because as you can guess, the nice smell was needed}, and gave the inside of the bin a good spray.

I then ran the water in my sink for a few seconds to let it get nice and hot, and sprayed down the inside of the can.
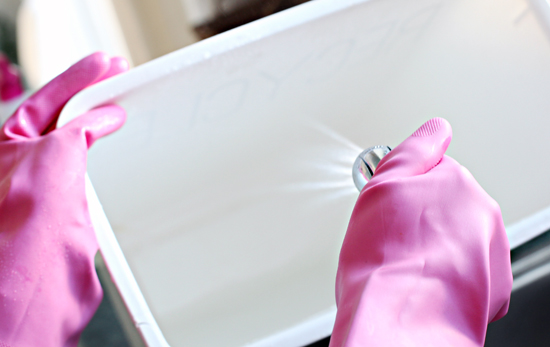
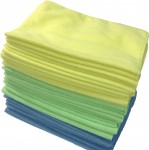
Using a microfiber rag, I then cleaned the inside and outside of the bin.


So glamorous....
But so much better!

I followed the same steps with the interior liner of our main garbage can as well. The exterior of the can receives a cleaning every couple of days because it sits out and we notice it much more quickly when it starts to show splatters and finger prints. Still not sparkling however...

For the exterior of the stainless garbage can, I wiped it over really quickly with the cleaning rag, and then pulled out the olive oil.

I have been using this for a short while now as a stainless polisher and it really does seem to make it shine.
It took me a few times to find my polishing groove, but basically I just rub the oil into the grain of the stainless with a dry rag until it is shiny and smudgeless. I just made that last word up.
If you find you still have a smudge here and there, a little vinegar on a new dry cloth should do the trick.

We have a couple of other small garbage cans in our bathrooms, and I followed the same steps to wash out the insides of those as well, although, they were not nearly as bad as we usually keep those lined. At least they were left smelling nice, fresh and lemony.
I have bin lovin' this cleaning series so far! OK, that pun was just garbage, I should throw it out...

Looking for something? Check out my favorite cleaning products below:


These are all cleaners/products that work for us and our current home finishes. It is important to research the cleaners prior to using them on your specific counter and flooring selections.


No comments:
Post a Comment